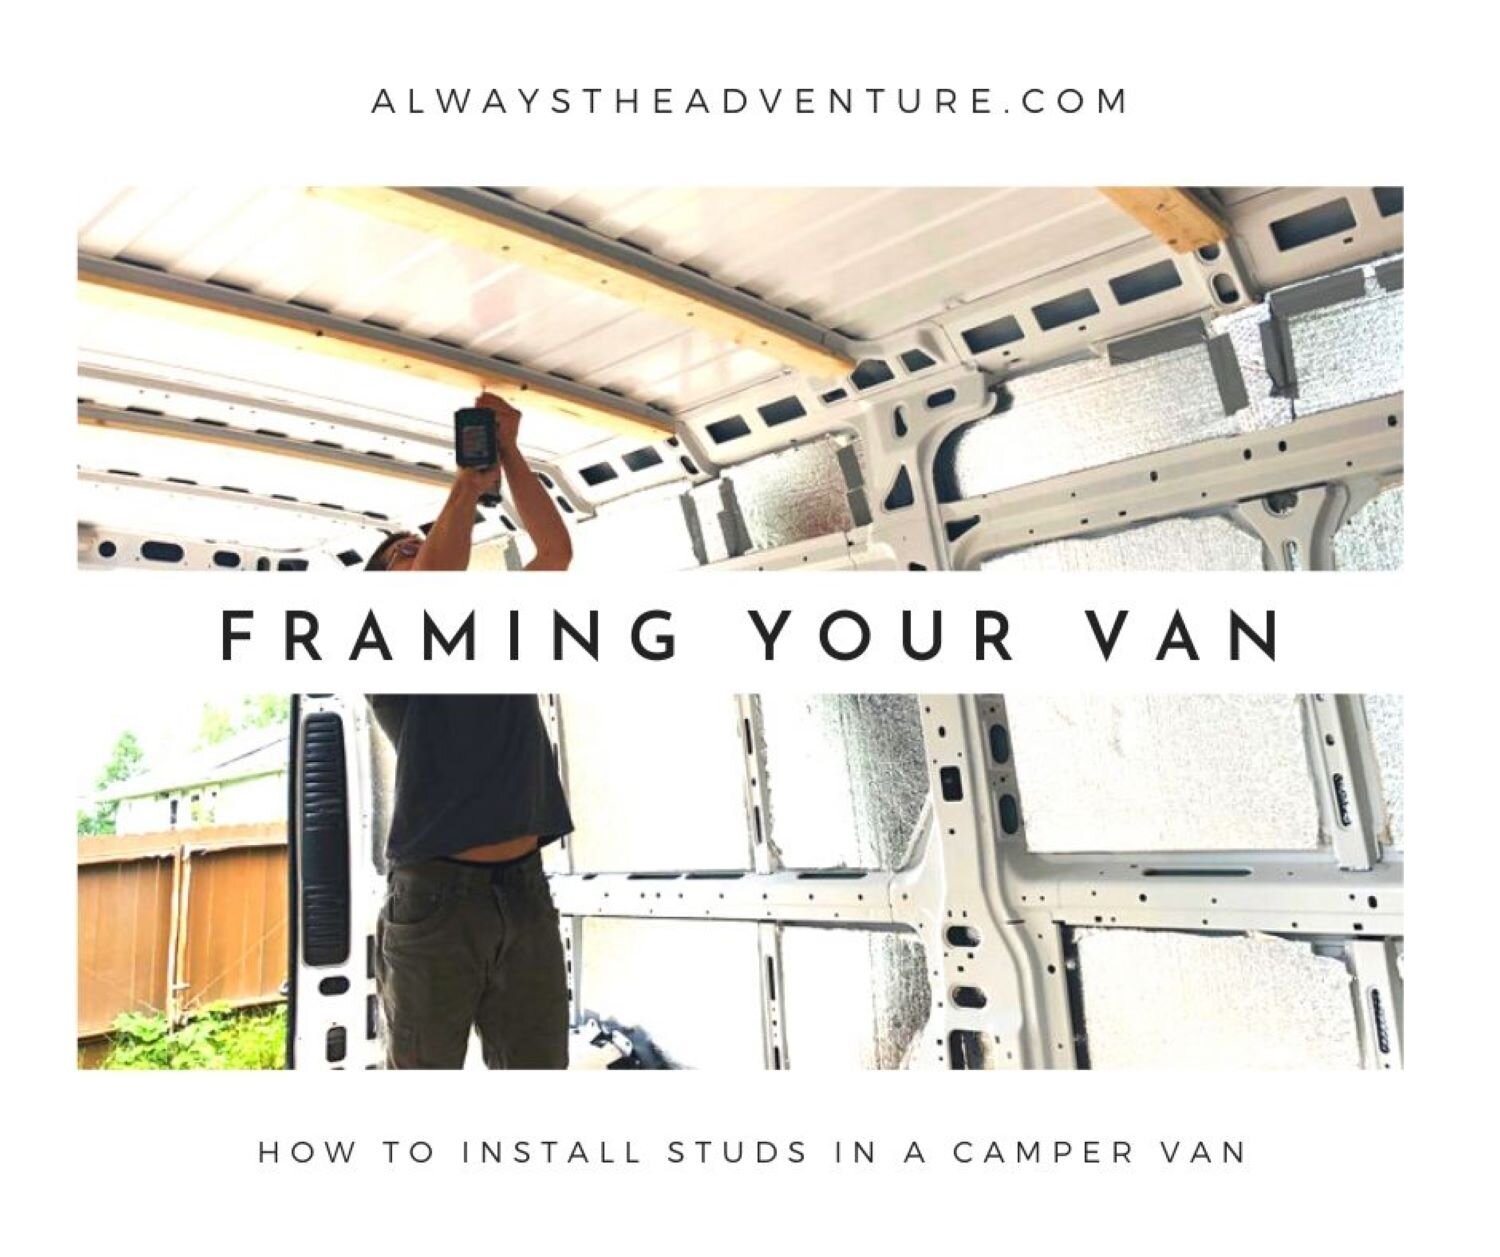
Framing Your Van: Installing Studs in your Camper Van
Before you can really start to build anything in your camper van, you’ll need something upon which you can build. This means you’ll need to install studs in your camper van.
Just like a house needs a wooden frame, your van will also need one.
It’s a seemingly simple process, but bear in mind these are the pieces that will essentially act as attachment points for pretty much everything else.
It’s a very scary step, because if you’re like us, working with a blank metal box, this is also likely the first time you’ll be altering the body of the van. For us, the stud installation process was laced with knowing we could easily screw up (literally) that which we had just indebted ourselves to for seven years, not to mention void our factory warranty.
That said, just take your time and think it through. As they say, measure twice, cut once. A motto by which to build a van.
*This post contains affiliate links.
Things to think about before you start installing studs:
Complete Coverage Walls or Visible Space Only?
Are you paneling the entire van then building over it? Or are you going more minimalist and building your frame directly into the studs, then only paneling that which will be visible?
It’s a lot to think about, we know, and there are certainly benefits to doing it both ways.
A more minimal build is more complicated, requiring more oddly shaped panel cuts on the end, but it does save you both weight and space.
But, if you like consistency or just the idea of knowing the backs of cabinets look as nice as the rest of your walls, maybe paneling all wall space before building a frame is best for you.
Once you’ve made a decision you can move onto the next question to determine what orientation of studs you should install.
Horizontal or Vertical Studs?
It might seem natural to assume the studs in your van will follow the same vertical pattern as studs in a standard house.
However, bear in mind the orientation of your studs will ultimately determine the directional stability of things mounted to it.
In other words, mount your studs in the opposite direction as what you plan to mount to them.
This mostly matters in terms of how you plan on covering your walls. If you’re using plywood sheets as a base behind your wall paneling (or just as your walls alone), this matters less.
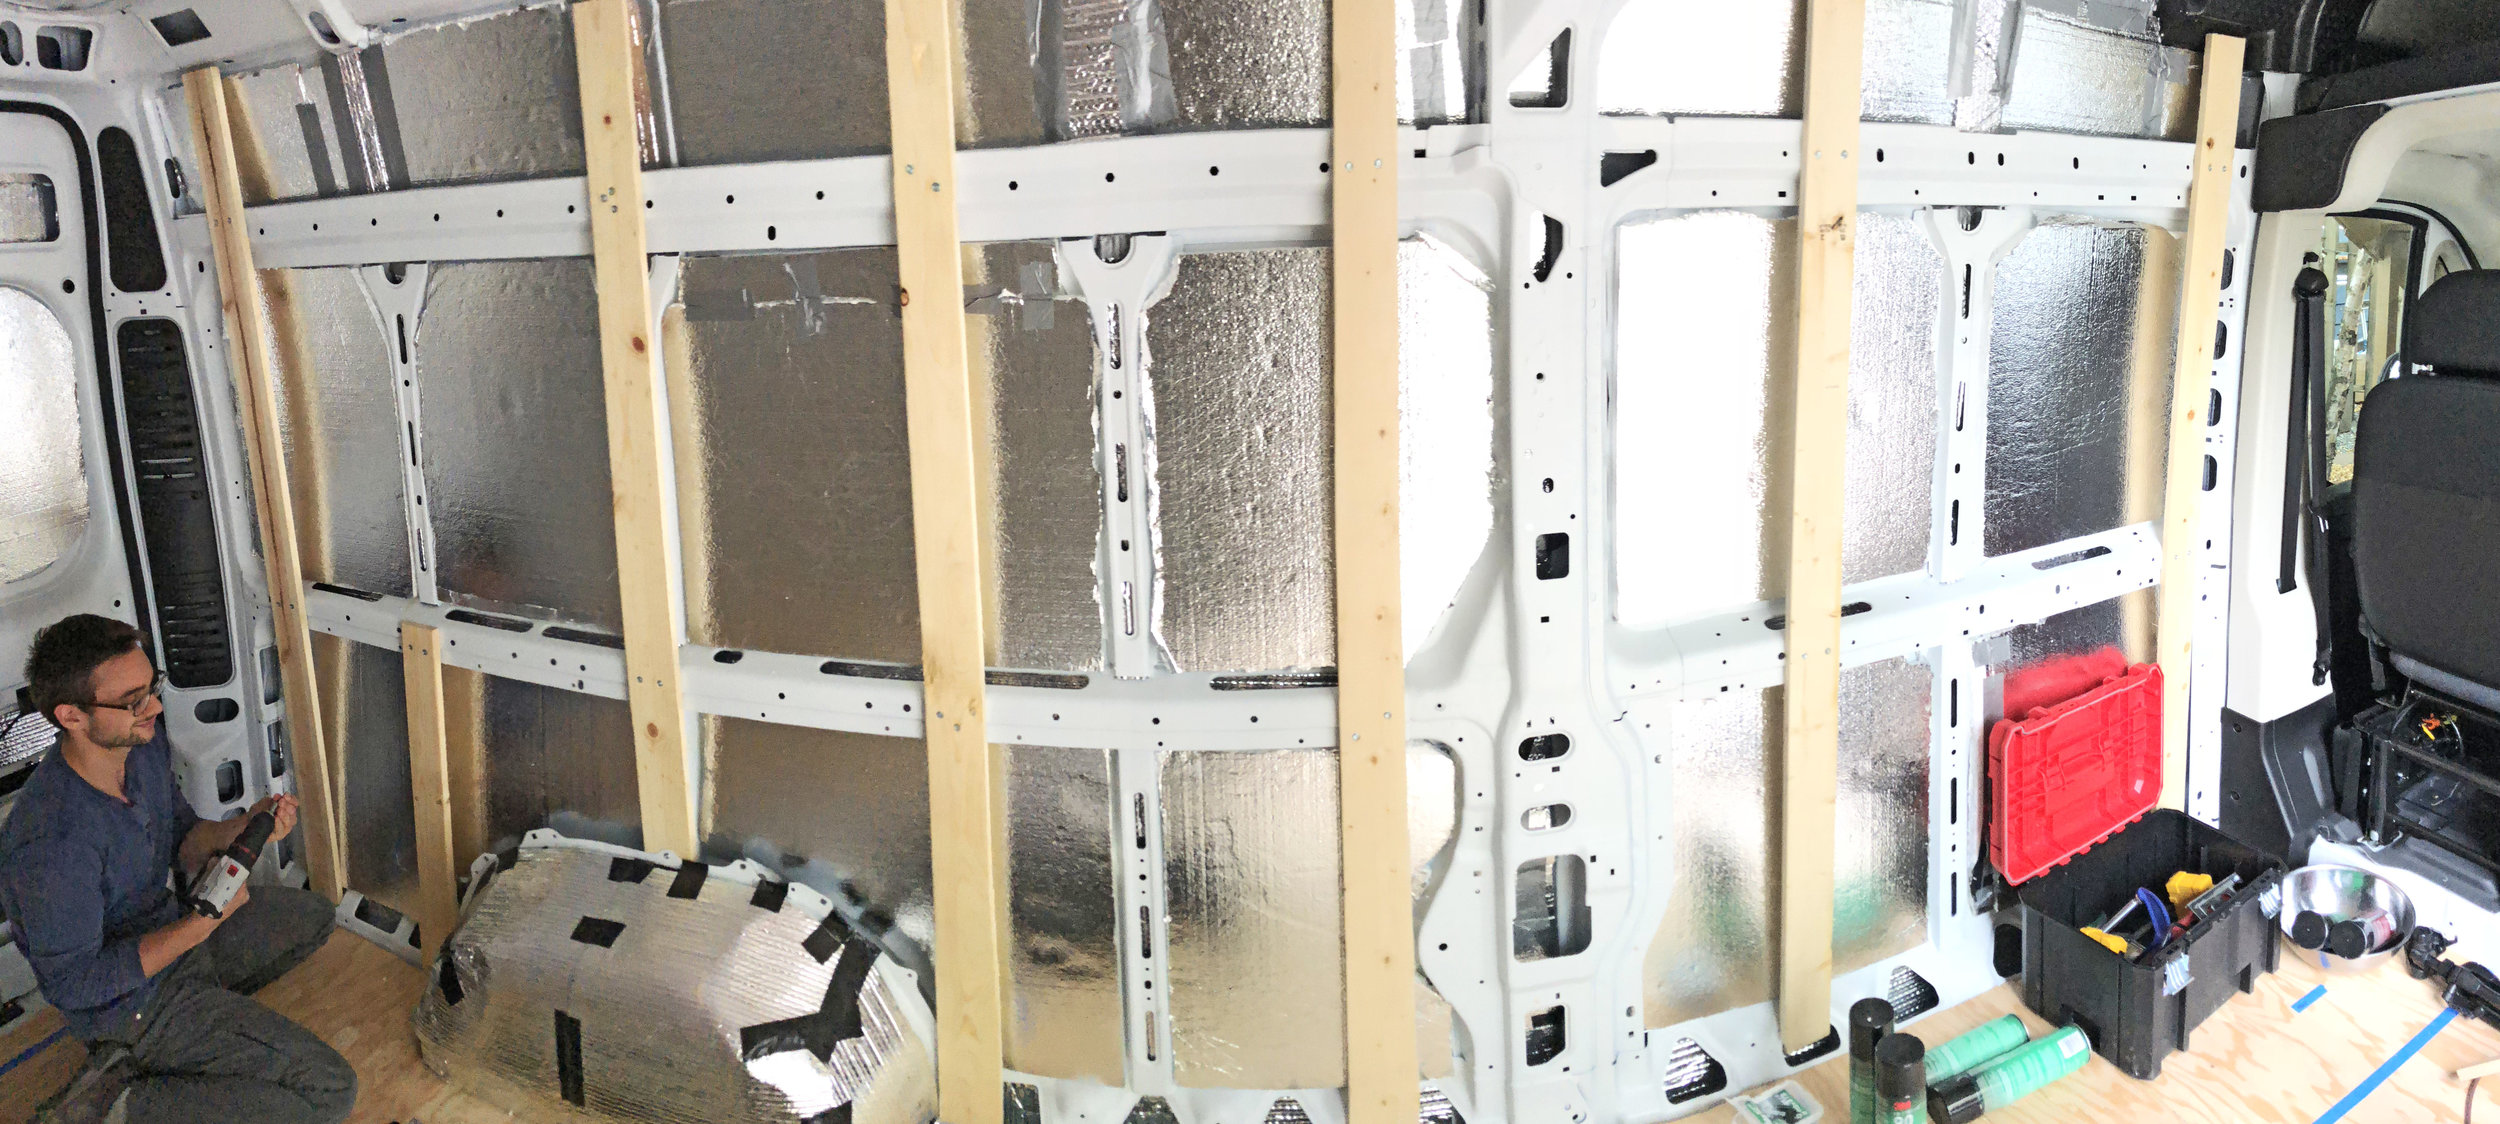
However, to save weight, we wanted to install shiplap panels without a sub piece of plywood. Since we wanted horizontal paneling, we knew we would need to install vertical studs to make that happen (even though we wouldn’t even be thinking about paneling until the countertops and cabinets were built months down the road!)
How many studs?
How many and how far apart do you want the studs to be?
The natural ribs of your van are a good guide, but Lord knows cargo vans are anything but consistent and symmetrical. We didn’t install studs on every single rib. For ribs closer together, we skipped a rib in between studs and for ones farther apart, we installed studs on adjacent ribs.
The more studs, the more sturdy the van and the more you can mount on the walls. If you plan on building mostly from the floor up and don’t really want much hanging, maybe you can do with fewer studs.
If you want lots of lofted storage and things that will be pulling purely on those studs, having more studs will allow you to more evenly disperse the weight of these hanging fixtures.
Full or half studs?
If you really want to save on a little weight (which is a good mindset to start getting yourself into, because little bits of weight trimmed off here and there at each stage of the process can mean a big difference in the end), you can consider installing half studs in places rather than full floor-to-ceiling planks.
We did this, for instance, over the wheel wheels where the bed our bed would soon go. We knew that we wouldn’t be hanging stuff over the head of the best and thus opted to just install a lower stud to attach the bed frame and below bed paneling to. The top would just be a simple plywood padded and fabric-covered headboard.
While you definitely don’t need to have the whole van planned out (because it will change literally all the time), this is one of those instances where some rough idea of your future build can save you time, effort, and material.


What’s your roof going to look like?
Again, this is mostly a question of orientation. Will your studs run down the length of your van (front-to-back) or across the width of it (side-to-side)? This really depends on your roof.
If you plan on doing individual plank paneling for the roof, you will definitely want to install them running side-to-side, since the planks will likely be running front-to-back. Studs must go in the opposite direction of the things you want to attach to them.
If you’re doing a solid plywood sheet roof, it really doesn’t matter which you choose. If you don’t know, go with side-to-side studs because they give you the option of either.
As far as ease of installation, front-to-back planks are easier to install, because you won’t be dealing with the natural convex curvature of your roof; most van roofs don’t curve around the long axis.
For side-to-side studs, you will be battling that curve and will probably need at least two people: one to apply considerable pressure to the middle of the plank where the roof curves outward, and one to screw it in.
In the end, this was the option we chose because it meant dealing with shorter pieces of stud wood and gave us the option of doing whatever with the roof since we hadn’t fully decided yet whether we were sheet paneling or plank paneling.
Got Wood?
For this project, you’ll need 1”x4” spruce/pine boards. The number you’ll need will depend on how many studs you need to install and the length of the boards you end up buying. We used 17 pieces.
Know your measurements before going to the hardware store so can plan accordingly and minimize the lumber scraps left over. Trust us, you’ll still end up with more than you know what to do with.
Spruce/pine is recommended for this purpose because they are light, softwoods that will flex with the curves of your van. Harder woods, like oak or maple (aside from being way more expensive) will be a bitch the wrestle into studly submission.
NOTE: Some people use 2”x4”s for this, but we found it highly unnecessary. 1”x4”s are plenty strong enough, cost a lot less, are much lighter, and will save you two solid inches of space on each side of your van. And when we’re talking about a space with only 530 ft3 in total, an extra 27 ft3 starts to matters.
OPTION #1: Self-Drilling Screws

A typical hex head self-tapping screw.
First, what are self-drilling screws?
These are basically screws that possess the ability to cut their own thread rather than being screwed into something with a pre-threaded insert (that would be a self-tapping screw).
They are not to be confused with self-piercing screws, with can create their own entry hole (no pre-drilling required) but cannot create their own threads. These are designed for thinner and softer forms of sheet metal than you’ll likely find in your van.
Make sure you get the self-drilling screws (or self-tapping if you want to predrill the holes). They are recognizable by their large, blocky, hex-shaped heads.
You can find standard Phillips Head self-tapping screws, but for thicker metal like in a van, we do not recommend these. Your cordless screwdriver will need to apply a lot of force necessary to pierce the thick metal and there’s a high chance of stripping the head of a regular Phillips Head. The hex heads are much more stable for your drill bit to grab.
You’ll use these to drill through the wood stud and fasten it directly to the metal ribs of your van. As such, you’ll want to choose screws of a pretty particular length, which may not be the same across all vans or even across all ribs in your van! See our related screw-up regarding this in the next section.
Basically, you want a screw long enough to go entirely through the wood stud and partially into a metal rib without piercing the exterior shell of the van.
WARNING: Self-tapping screws SINK SIGNIFICANTLY into the wood. Account for this when choosing a screw length and err on the side of short to be safe until you are sure how far they’ll sink into your wood.


Before you start drilling, use a set of C-clamps to hold your stud in place on each of the ribs it touches. This alone isn’t often enough to apply adequate pressure during the drilling process (you’ll want another set of hands for that), but it does hold your stud in the proper place.
It’s a good idea to put your boards up to the ribs and make general guidelines around where you can put screws (i.e. where there are no prefabbed holes). This helps eliminate some of the trial and error.
Trial and error, my friends.
The drilling process can be quite a physical and burly process, most likely requiring two people: one to firmly hold to stud in position, the other to operate the drill, applying a lot of force as the screw attempts to pierce the metal.
Just know that this stage will involve a fair bit of trial and error. If you try to drill through double-walled, or layered, pieces of metal, the screw won’t go through and will instead make a horrendous wailing sound.
Avoid these sections along with welded areas and conduit with wiring that may connect to your van’s sliding side door and, in newer models, to a backup camera.
Sometimes, there won’t be any reason at all but the screw just won’t bite, and the wood flex alone will cause it to pop right out.
In this case, move your screw and try again, putting in as many screws as you have room for (on both the upper and lower ribs, if you’re doing vertical studs like us) until it feels secure. In places, we ended up with 4-5 screws at one joint. In others, only 2.
As with every part of the amateur van building process, nothing is very scientific. Just know it’s normal. Installing self-tapping screws isn’t a pretty or precise job, by any means. Just steel your nerve and start screwing!
After you finish screwing in your studs, don’t be afraid to give them a good yank to test the stability. This feels scary but it’s a necessary step before you can move on and start building into the studs.
You’d much rather find out if your stud is going to hold then than when all your wall fixtures come crashing down on a bumpy road!


Our Build:
For the side studs, we used Screw Tek 1.5” stainless steel self-tapping screws, a perfect length for going through the 1” thick studs and biting sufficiently into the metal ribs in the van onto which we were attaching them. For the roof studs, we used 1” self-tapping screws because our roof ribs were not as thick as the side ones.
We learned this the hard way by first underestimating how far the screw would sink into the wood and failing to properly take the rib depth into account.
On the first screw we put in the roof… BAM! A hole right in the roof of our van. It was only day two of our build and we had pretty much done the worst thing we could then imagine.


Fortunately, we resolved the issue by first slapping some gasket rubber over the hole to seal it temporarily, then having our solar panels wired right through that very hole, sealed with a specially designed stopper. It was almost like we did it on purpose (or so we tell ourselves).
The lesson is twofold: 1) Always measure; 2) No mistake is fatal.
In the end, after testing a few different lengths before trying again, we ended up using Screw Tek 1” stainless steel self-tapping screws for the roof studs.
OPTION#2: Rivet Nuts (aka rivnuts)
A rivnut is a singular internally threaded hollow screw with an accompanying counter-boarded tubular insert. They are commonly used in aviation. Many vans (cargo vans at least) come with prefabbed rivnut holes in the ribs! Why wouldn’t you use this method, then?
Well, it’s not quite that simple; you still need an installer, known as a rivnut gun, and they can be hard to find at generic hardware stores.
We went to Lowe’s and everyone treated us like we were idiots for asking if they carried one. “Are you sure that’s a real tool?” one of them asked us condescendingly. Just because you never heard of it doesn’t mean it isn’t real.
Always a confidence-inspiring feeling when you, an amateur-at-best carpenter, know more than Lowe’s staff. Get used to it and don’t let rude hardware store workers get you down!
If you do get your hands on a rivnut gun (you can find cheaper ones, but a good sturdy one will cost you around $60-$70), it’s really simple. Just place the hollow tube in the hole, place the insert cylinder into a pre-drilled hole in your stud and into the hollow tube, then tighten with the rivnut with the gun.
As it tightens, it’ll not only thread the screw together, but it will fold the back of the sheath piece, pinching the entire unit to the back of your metal rib (see video rendering here).
This method benefits by being more secure and clean than self-tapping screws, but it definitely requires more precision and know-how. There are lots of resources on YouTube if this is your avenue of interest. This video is a good, simple starter.
Rivnut Gun: Astro Pneumatic Hand Rivet Nut Setter Kit
Insert Rivnut Set: 175pc Stainless Steel 5-size nutserts
Things we wish we did different:

As with every stage in the van building process, there is always something we look back on with some degree of regret. With studs, it’s a little bittersweet. On one hand, they’re the base of everything so having regrets about the very base of our van kind of sucks.
On the other hand, they work and we’ll literally never see them once everything is finalized. It’s the knowledge that they’re not quite right.
**2-year update: We have never once had one of our studs rattle loose despite taking our van on so many rough and washboarded dirt roads and over 30,000 miles of total driving. We will update again if this changes.
1. Extend the studs to the lower ducts that sink beneath the floor. Our van (as with many newer cargo vans) comes with big empty spaces beneath the main cavity of your van, typically sealed with little plastic plates you’ll want to remove and insulate to some degree.
These holes line up right beneath the metal ribs. We quickly discovered doing this would have straightened out the curve of the studs just a little bit. We actually experimented and did it with one stud but not the others. The knowledge of the inconsistency (even though we can’t see it!) bugs us a little bit.
2. Knew how much the screws would sink in our roof studs or at least been more careful with our measurements. Obviously, we wish we hadn’t poked a hole in the roof of our van so early in the process. Even though it resolved itself without consequence in the end, the confidence and motivational blow we took with that mistake made us pretty timid to do a lot of things moving forward.


The Final Numbers:
The total cost of all materials used for this stage of the build.
17x 1"x4 spruce pine studs ($58.43)
50-ct. box of #10 1.5" self-tapping screws ($6.41)
50-ct. box of #8 1" self-tapping screws ($6.55)
Note: You don’t have to install studs. As with any build, there is no one right way to do it.
Some van builds attach plywood walls directly to the plywood frame. This is good for smaller vans (think Westies) but not so great for a larger van that will likely have more weight and fixtures hanging on the sides and ceiling.
For a studless how-to, check out this post by Gnomad Home.
**This post contains affiliate links to support the continued creation of these van life guides. This just means that if you purchase something from one of the links above, I get a small commission from the sale at no cost to you. Read more here or reach out with more questions.